 Save
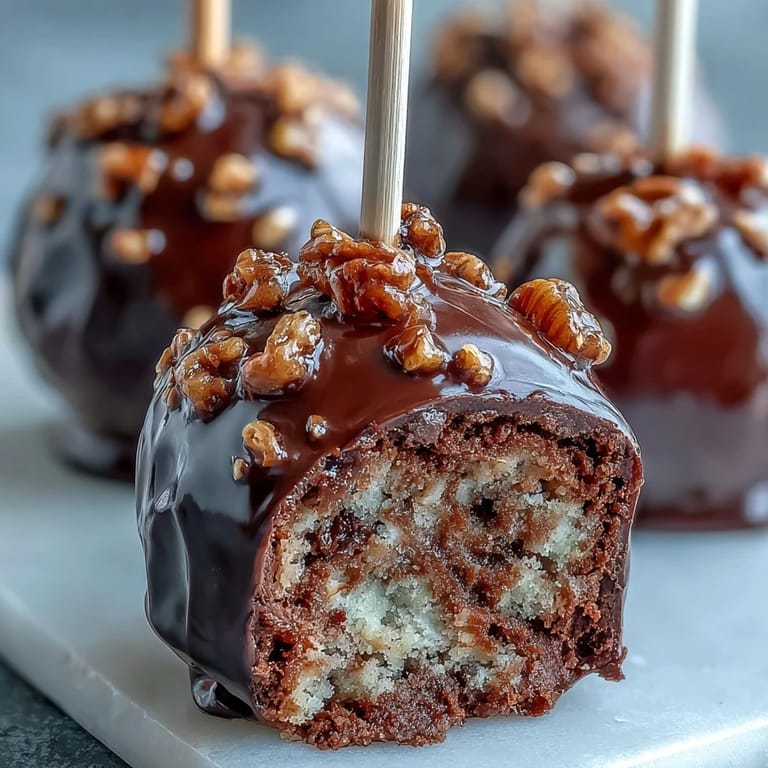
Save My kitchen turned into a treasure hunt last March when my daughter insisted we needed something festive for her school's St. Patrick's Day potluck. I found myself elbow-deep in chocolate cake crumbs at midnight, rolling them into balls and thinking there had to be a cuter way to celebrate than green cookies. That's when it clicked—cake pops dressed like little pots overflowing with edible gold coins. By the time I dipped the first one in black candy melts and watched the gold sprinkles catch the kitchen light, I knew I'd stumbled onto something special.
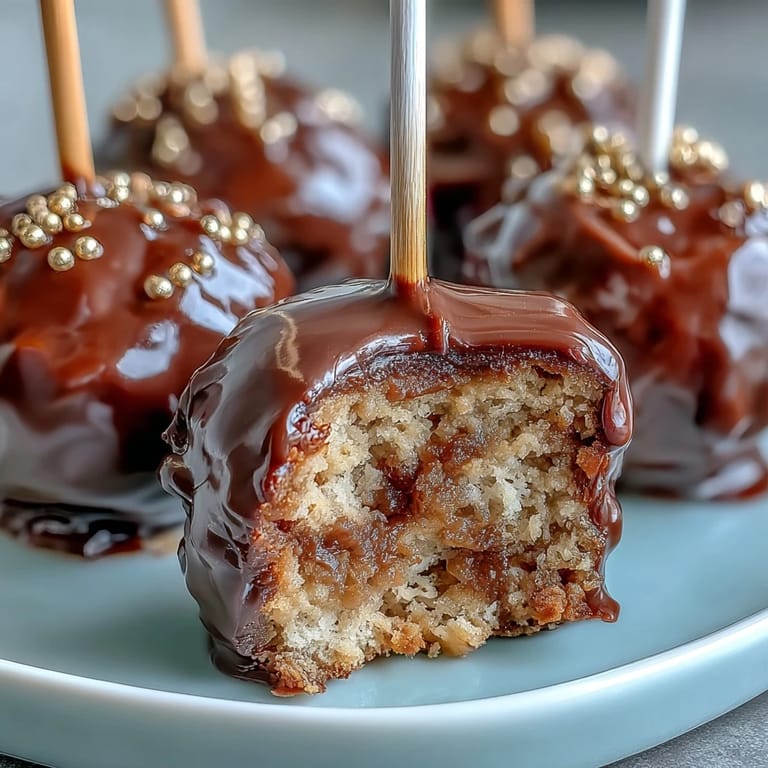
I'll never forget watching my neighbor take a bite of one at our block party, expecting something overly sweet, then genuinely delighted by the balance of rich chocolate and that satisfying crunch of the coating. Her eyes lit up when she bit through to the soft cake center, and suddenly these little pots felt like more than dessert—they were tiny moments of joy I'd created with my own hands.
Ingredients
- Chocolate cake mix (1 box, 400 g) with required eggs, oil, and water: This is your foundation, and using quality mix ensures the crumb structure holds together when you're mixing it with frosting.
- Chocolate frosting (120 g or ½ cup): The frosting acts as your binding agent—it's what transforms dry crumbs into a moldable dough, so don't skimp or skip it.
- Black candy melts (400 g or 14 oz): These create that glossy pot exterior and set faster than regular chocolate, which keeps your pops from sagging.
- Gold sprinkles or edible gold pearls (48 g or 2 oz): Applied while the coating is still slightly wet, these cling beautifully and catch light like real coins.
- Lollipop sticks (24): These become the handle anchor, so make sure they're sturdy enough to support the weight without bending.
- White candy melts (50 g or 1.75 oz, optional): Perfect for piping decorative rims that contrast against the black pot, giving each one character.
- Green fondant or sprinkles (optional): A shamrock or tiny green accent adds that St. Patrick's touch without overwhelming the design.
Tired of Takeout? 🥡
Get 10 meals you can make faster than delivery arrives. Seriously.
One email. No spam. Unsubscribe anytime.
Instructions
- Bake and cool your chocolate cake:
- Follow the package instructions to the letter, then let it cool completely on a wire rack—warm cake creates steam that ruins the texture of your cake ball mixture. This step takes patience, but it's non-negotiable.
- Turn cake into fine crumbs:
- Crumble the cooled cake with your hands into a large mixing bowl until you have uniform, bite-sized pieces with no large chunks. This consistency ensures even frosting distribution and smooth rolling.
- Mix in frosting to form dough:
- Add the chocolate frosting gradually, stirring until the mixture resembles wet sand, then continues to a cohesive dough that holds together when squeezed. You're aiming for play-doh consistency—not too dry, not too wet.
- Roll and shape your pops:
- Scoop the mixture with a cookie scoop or spoon into balls roughly 1.5 inches in diameter, then gently flatten the tops to mimic a pot's rim. Work quickly so the mixture doesn't warm up, and keep a damp cloth nearby if your hands get sticky.
- Chill the first time:
- Arrange them on a parchment-lined tray and refrigerate for 30 minutes until they're firm enough to handle without losing their shape. This step prevents them from falling apart when you dip them.
- Melt your black candy coating:
- Follow the package instructions for melting, using short microwave bursts and stirring between each one to prevent scorching. Smooth, pourable melts are your goal here.
- Insert and secure the sticks:
- Dip each stick's tip into the warm melted candy, then push it halfway into a chilled cake pop—the melted candy acts as glue. Let them chill for 10 minutes so the sticks set firmly and won't spin during dipping.
- Coat with black candy melts:
- Working one pop at a time, submerge it fully into the melted black coating, give it a gentle twist, and let excess drip off for a few seconds. Stand each one upright in a styrofoam block or pop stand immediately before the coating sets and droops.
- Add gold while coating is wet:
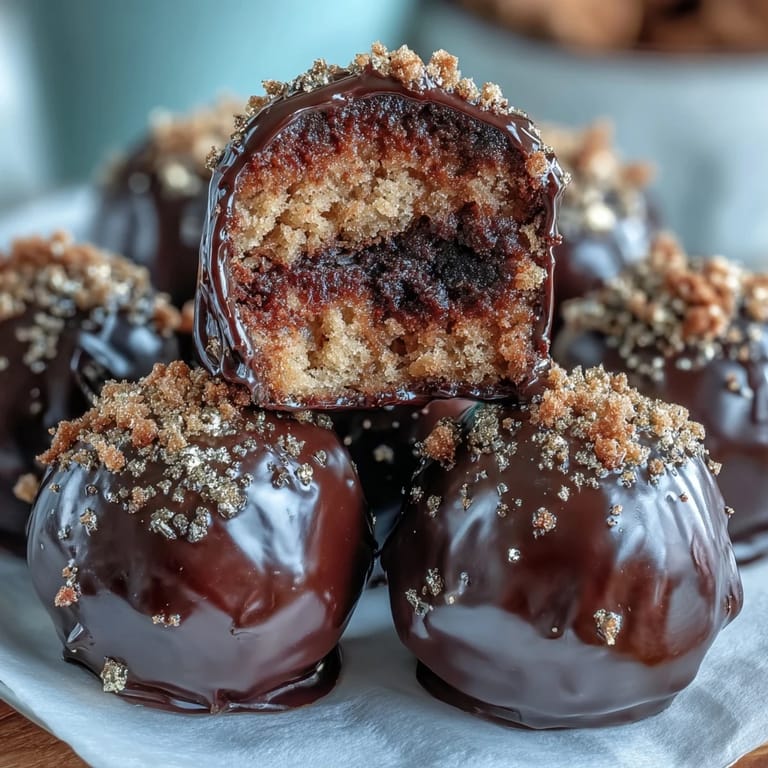
- Before the black coating firms up, sprinkle the gold over the top so it clings and looks like coins spilling from a treasure pot. Work quickly—once the coating sets, the gold won't stick.
- Optional decorative details:
- If using white candy melts for a contrasting rim, let them cool slightly, then pipe a thin circle around the pot's top edge for visual interest. A shamrock accent or two in green adds festive polish.
- Final set:
- Give the pops at least an hour to set completely at room temperature before wrapping or serving. A fully set coating protects the cake inside and prevents melting in your hands.
 Save
Save There's something almost magical about the moment a plain cake ball transforms into a glittering pot of gold under your own hands. My daughter helped decorate the last batch, and when she carefully positioned each gold pearl and proclaimed them 'treasure pots,' I realized these weren't just for St. Patrick's Day anymore—they'd become our thing.
Storage and Make-Ahead Magic
These cake pops are your secret weapon for stress-free entertaining because you can prep them in stages. Bake and crumble the cake a day or two ahead, then spend an evening rolling and chilling them—once they're shaped, they'll keep in the fridge for up to three days before you even touch the candy melts. On serving day, all that's left is the fun part: the quick dip and decoration that takes maybe 20 minutes for all 24 pops.
Flavor Combinations Worth Exploring
While the chocolate foundation is perfect for St. Patrick's Day elegance, don't feel locked into it forever. I've experimented with vanilla cake and gold candy melts for a sunnier vibe, and once tried green-tinted white chocolate coating with shamrock toppers—the method stays exactly the same, you're just swapping colors and flavors to match the mood. The real magic is that the technique is flexible enough to work for any holiday or celebration you're dreaming up.
Troubleshooting Your Pops
Even when you follow every step, cake pops can be temperamental little things, so here are the fixes for common hiccups. If your mixture feels too crumbly, add frosting a tablespoon at a time; if it's too sticky, chill it longer before rolling—patience always wins. When the coating looks thin and uneven, your candy melts might be too hot, so let them cool slightly and try again with a gentle twisting motion instead of dunking forcefully.
- If gold sprinkles won't stick, the coating was too cool or already set—work faster next time and apply them immediately after dipping.
- Sticks that spin during dipping mean they weren't chilled long enough after insertion, so give them the full 10 minutes next time.
- Store-bought pops always taste better when eaten at room temperature or slightly warmed, never straight from the fridge where the chocolate coating gets brittle.
 Save
Save These little pots of gold have become the dessert my family requests long after St. Patrick's Day is over, which tells you everything you need to know. Make a batch and watch them disappear faster than you'd expect from something so small.
Recipe FAQs
- → How do I shape the cake balls to resemble pots?
After forming the cake mixture into balls, gently flatten the tops to create a slight pot shape before chilling, helping them hold their form during decoration.
- → What is the best way to apply the candy melts coating evenly?
Dip each cake ball fully into melted candy melts, letting excess drip off before standing upright to set, ensuring a smooth, even coating.
- → Can I prepare these in advance?
Yes, cake balls can be stored in an airtight container at room temperature for up to three days to maintain freshness before serving.
- → What alternatives exist for gold decorations?
Use edible gold pearls or shimmer dust as alternatives to gold sprinkles for appealing pot 'coins' decorations.
- → How do I add shamrock accents?
Use green fondant or green sprinkles applied to each pop after coating sets, adding festive shamrock details.
- → Are there gluten-free options for this treat?
Yes, substitute the cake mix with a gluten-free version and ensure all decoration ingredients are gluten-free.