 Save
Save The day I discovered the magic of my panini press was a true kitchen revolution. What began as a hesitant impulse purchase quickly became the cornerstone of my lunchtime repertoire. There's something mesmerizing about watching two ordinary slices of bread transform into a golden, crispy vessel for melty cheese and flavorful fillings. The satisfying sizzle as the sandwich meets the hot press still makes my stomach rumble in anticipation, even after all these years.
Last winter during that dreadful week-long power outage, my panini press became our household hero. Working from the one functioning outlet connected to our emergency generator, I created endless variations of these sandwiches for neighbors who gathered in our kitchen. Those impromptu panini parties, illuminated by camping lanterns and warmed by good company, somehow transformed a challenging situation into one of my fondest memories.
Ingredients
- Bread choices: I've learned that heartier breads like sourdough and ciabatta stand up better to the pressing, while maintaining that ideal contrast between crispy exterior and soft center.
- Cheeses: Using a combination of pre-sliced and freshly cut cheese creates interesting texture variations, with fresh mozzarella becoming gloriously melty while maintaining pockets of creaminess.
- Spreads: These aren't just flavor enhancers, they're moisture guards that prevent dry sandwiches, with pesto being particularly magical at infusing every bite with aromatic goodness.
- Proteins: Thinly sliced deli meats work beautifully, but I've discovered that slightly thicker cuts provide more satisfying texture against the crisp bread.
Tired of Takeout? 🥡
Get 10 meals you can make faster than delivery arrives. Seriously.
One email. No spam. Unsubscribe anytime.
Instructions
- Prep your workspace:
- Before turning on your panini press, organize your ingredients assembly-line style so everything flows smoothly. You'll avoid that frantic rummaging through the fridge while bread gets soggy.
- Build with intention:
- Place cheese next to the bread on both sides, creating a protective melty barrier that prevents wet ingredients from making your bread soggy. This simple change revolutionized my panini game.
- The perfect press:
- Resist the urge to press down too firmly or check too frequently. That gentle sizzling sound is your guide, telling you when the magical transformation is happening.
- The golden moment:
- Look for that perfect amber color on the ridges of your bread. When you see those crispy golden lines contrasted with the lighter bread between, you've hit panini perfection.
- Rest briefly:
- Let your masterpiece rest for 30 seconds before cutting. This allows the melted cheese to slightly set, preventing the dreaded filling-slide-out when you slice.
 Save
Save The Mediterranean veggie panini unexpectedly became our family's peace offering after heated disagreements. Something about the warm, crispy bread and the melty feta seemed to dissolve tension around our kitchen table. My teenage daughter once grudgingly accepted half of my sandwich after we'd argued about curfew, and by the last bite, we were laughing again. Now, whenever I assemble that particular combination, I smile knowing it's not just a sandwich but our family's unofficial conflict resolution tool.
Creative Combinations
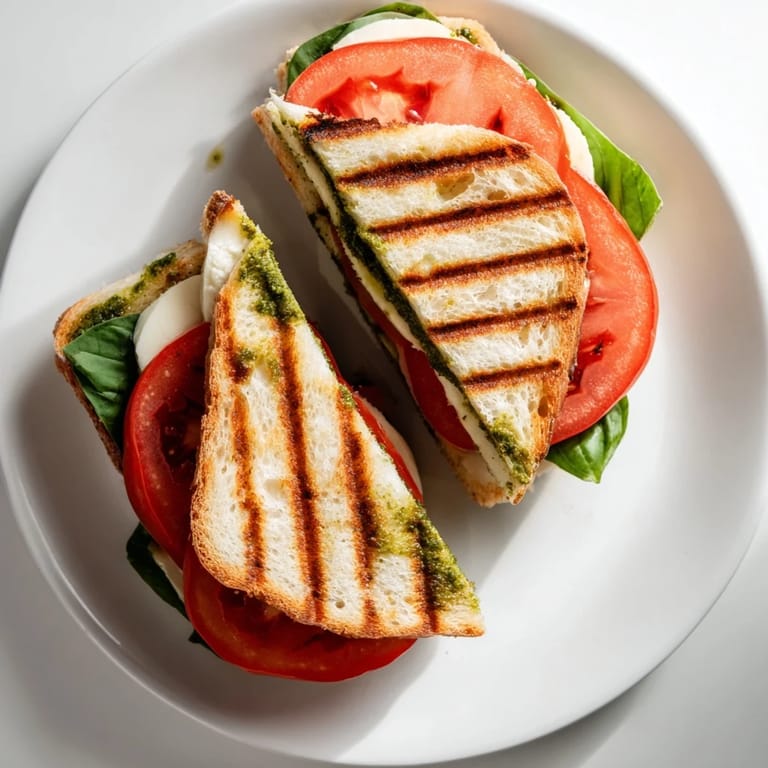
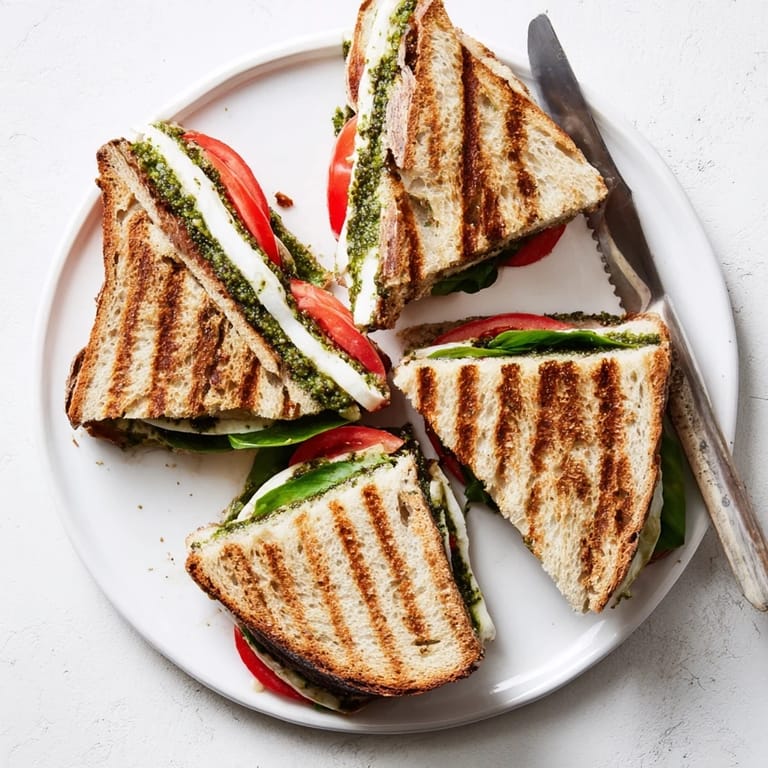
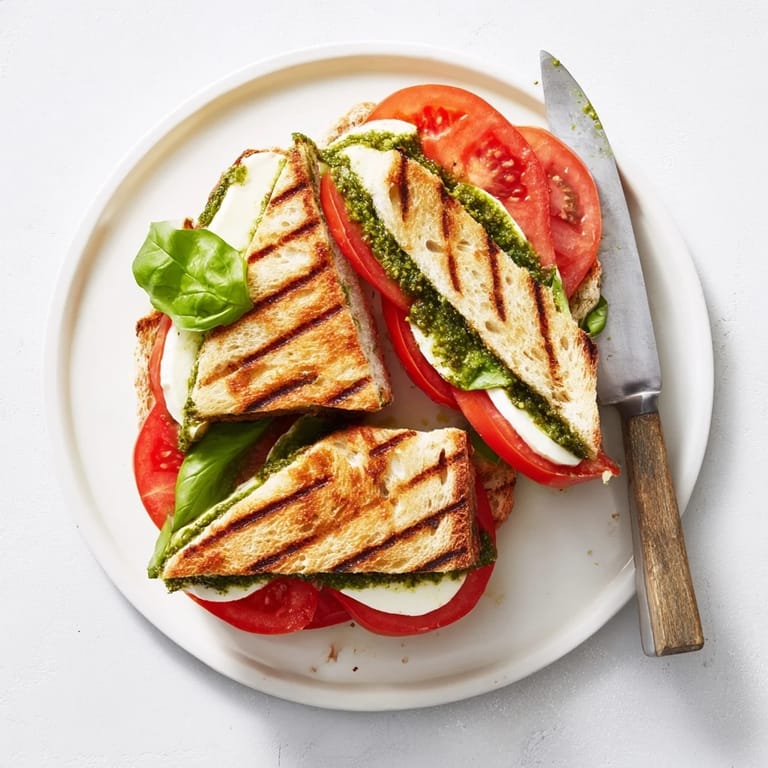
After two years of panini experimentation, I've discovered that successful combinations balance three key elements: something creamy, something acidic, and something with textural interest. The Caprese works brilliantly because the creamy mozzarella gets brightened by tomatoes while the basil adds aromatic complexity. Similarly, the turkey-cranberry pairing succeeds because the sweet-tart cranberry cuts through the richness of the Swiss cheese, creating that perfect harmony that keeps you coming back for another bite.
Make-Ahead Strategies
Sunday afternoon has become my panini prep ritual, where I grill batches of vegetables, caramelize onions, and portion cheeses for the week ahead. These components, stored in glass containers in my refrigerator, turn panini-making from a 20-minute affair into a 5-minute solution on busy weeknights. The Mediterranean veggie components particularly benefit from this approach, as the grilled eggplant and zucchini actually develop more flavor after a day or two in the fridge, infusing the finished panini with deeper, more complex notes.
Troubleshooting Common Issues
Through countless panini failures, I've developed an intuitive sense for avoiding common pitfalls that can turn your crispy dream into a soggy disappointment. The most frequent problem is overstuffing, which prevents proper heat distribution and results in unevenly melted cheese and potentially raw ingredients in the center. Another common issue is using ingredients straight from the refrigerator, which creates cold pockets that fight against the press's heat.
- For juicy ingredients like tomatoes or roasted peppers, pat them dry with paper towels before assembling your sandwich.
- If using delicate greens, add them after pressing or use heartier options like kale that can withstand the heat.
- For meat-heavy panini, consider warming the protein slightly before assembling to ensure the center reaches a safe temperature without over-crisping the bread.
 Save
Save These panini combinations are merely starting points for your own creative journey. The true joy comes from experimenting with flavors that speak to your own memories and cravings, turning simple ingredients into perfectly pressed moments of comfort.
Recipe FAQs
- → Can I make these panini without a panini press?
Yes, you can use a regular grill pan or skillet with a heavy pot or second pan to press down on the sandwich while cooking. Flip halfway through for even browning.
- → How do I prevent the filling from spilling out during pressing?
Avoid overfilling and leave a small border around the edges. Press gently at first, and ensure cheese is placed strategically to act as a binding agent between layers.
- → Can these panini be prepared ahead of time?
You can assemble the sandwiches up to 2 hours ahead and refrigerate them wrapped in plastic. Bring to room temperature for 10 minutes before pressing for best results.
- → What bread works best for panini?
Sturdy breads like ciabatta, sourdough, and focaccia work best as they hold up to pressing and absorb less moisture from fillings. Avoid soft sandwich bread which can become soggy.
- → How can I make these panini vegetarian or vegan?
The Mediterranean Veggie and Caprese options are easily adapted—use dairy-free cheese and skip butter for vegan versions. Add grilled portobello mushrooms or marinated tofu for extra protein.
- → What temperature should the panini press be set to?
Most panini presses work best at medium-high heat, around 350-375°F. This ensures crispy exteriors without burning while thoroughly melting the cheese and heating the fillings.