 Save
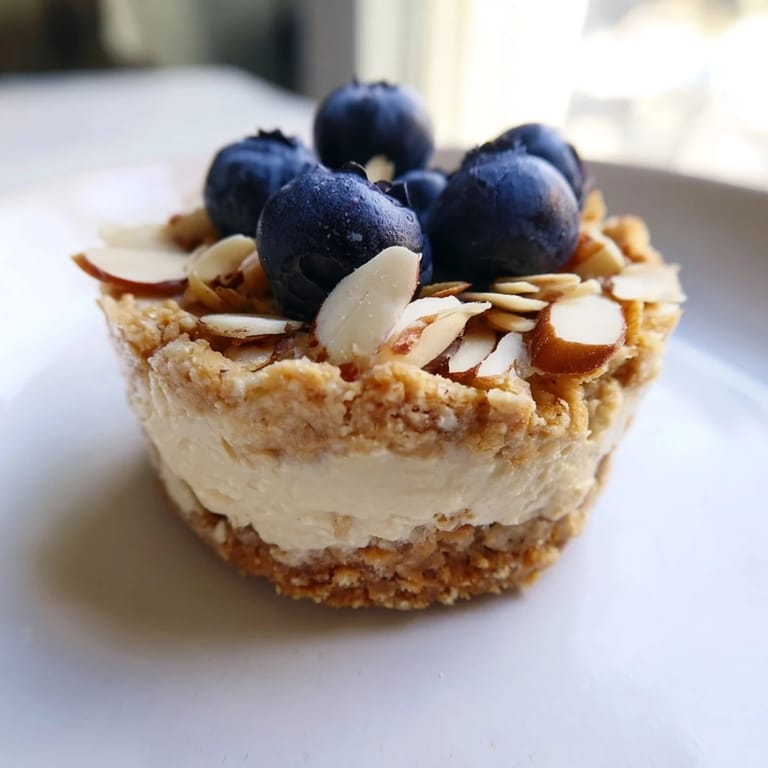
Save I discovered these protein cheesecake cups on a Tuesday afternoon when I was desperately searching for something that tasted indulgent but wouldn't derail my fitness goals. What started as a scramble through my pantry turned into these creamy little cups that somehow manage to feel like a dessert splurge while actually fueling your body. They're no-bake, which means no heating up the kitchen, and they come together in about twenty minutes if you're not overthinking the layers. The first batch I made, I pressed the base too hard and it turned into a dense brick, but by cup three I found the sweet spot and everything clicked. Now they're my go-to when I need something that tastes genuinely good and makes me feel like I'm taking care of myself at the same time.
I'll never forget making a batch for my roommate who swore off sweets, and watching her face when she realized these weren't some sad diet food substitute. She grabbed a second one before even finishing the first, and suddenly my protein cheesecake experiments became a household staple. That moment of seeing someone genuinely surprised that something healthy could actually taste this good is what keeps me coming back to this recipe.
Ingredients
- Oat flour (or almond flour for gluten-free): This is the structure of your base, and I learned the hard way that measuring it loosely leads to mushy crusts, so I always spoon it into the cup and level it off.
- Almond or peanut butter: This binds everything together and adds richness, so don't skip it or swap it for the powdered stuff if you can help it.
- Honey or maple syrup: Just enough sweetness to make the base taste like an actual treat, and it helps everything stick together.
- Salt: A pinch of salt makes everything taste better, even in a sweet dessert.
- Reduced-fat cream cheese: Softened at room temperature is key, otherwise you'll have lumps no matter how hard you beat it.
- Greek yogurt: This adds tanginess and keeps the protein content high without making it taste like a protein shake.
- Vanilla whey protein powder: Two scoops gives you the protein boost without an overwhelming powder taste, but you can adjust this if you prefer more protein or a milder flavor.
- Vanilla extract and lemon zest: These are optional but they're what make the filling taste sophisticated instead of like a plain supplement.
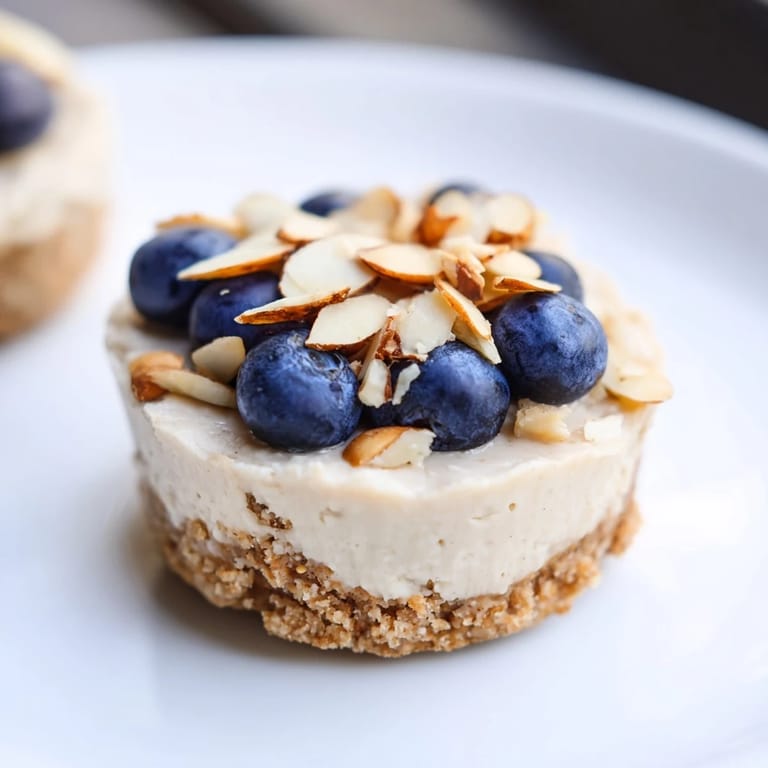
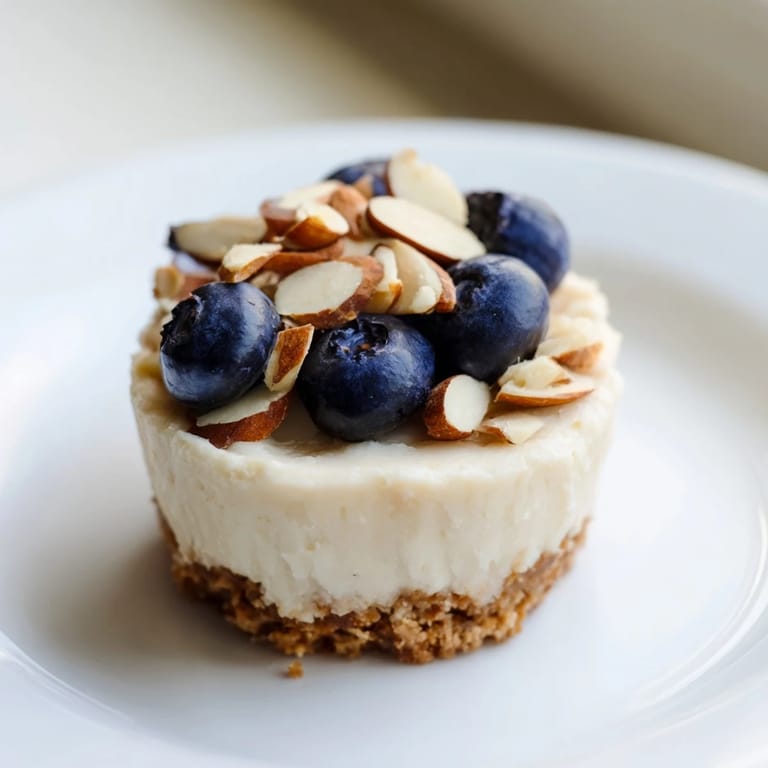
- Fresh berries, nuts, or dark chocolate: Toppings make these feel special, and I always keep berries on hand because they add a bright contrast to the creamy filling.
Tired of Takeout? 🥡
Get 10 meals you can make faster than delivery arrives. Seriously.
One email. No spam. Unsubscribe anytime.
Instructions
- Mix the crunchy base:
- Combine oat flour, nut butter, honey, and salt in a bowl until it looks like wet sand and holds together when you squeeze it. Don't overmix or it turns into a brick instead of a crumbly layer.
- Press the foundation:
- Line your muffin tin with liners and press a spoonful of the base mixture firmly into each cup, creating a flat, even surface. I use the bottom of a measuring spoon to get clean edges without crushing it into a dense patty.
- Make the creamy filling:
- Beat the room-temperature cream cheese until it's smooth and cloud-like, then fold in the Greek yogurt, protein powder, honey, vanilla, and lemon zest. Stop mixing once everything is combined so you don't overwork it and introduce too much air.
- Layer on the cheesecake:
- Spoon the filling over each base and smooth the top with the back of the spoon, filling each liner almost to the rim. They'll set as they chill, so don't worry if they look slightly soft at this stage.
- Add your finishing touch:
- Top with berries, chopped nuts, or chocolate shavings while the filling is still soft so everything sticks as it sets. This is where you make them look as good as they taste.
- Chill until set:
- Refrigerate for at least two hours, though overnight is even better and makes them easier to remove from the liners. You'll know they're ready when the filling is firm but still creamy when you bite into it.
- Unmold and enjoy:
- Peel away the liners and serve straight from the fridge, or let them sit out for five minutes if you like them slightly less cold.
 Save
Save There's something quiet and satisfying about pulling these little cups out of the fridge and knowing you made something that's both genuinely delicious and genuinely good for your body. It's the kind of moment that makes the whole fitness journey feel less like denial and more like abundance.
Customizing Your Cups
I've experimented with so many variations that these cups have become my personal canvas for whatever I'm craving or whatever my kitchen has on hand. Swap the oat flour for crushed gluten-free cookies and suddenly they taste like a dessert you'd feel guilty about, except you wouldn't because it's still packed with protein. Change the protein powder flavor to chocolate, strawberry, or birthday cake and the entire mood shifts. Some days I go savory with crushed pistachios and a touch of cardamom in the base, and other times I stick to vanilla because it's the truest version of what these were meant to be.
Making Them Vegan and Allergen-Friendly
My vegan friend asked me to make a batch for her, and I discovered that dairy-free cream cheese and plant-based yogurt work beautifully as long as you let the cream cheese soften completely and don't skip the vegan protein powder. The texture is nearly identical, and honestly, if I'm not paying close attention, I can't taste the difference. If nuts are a problem in your house, tahini or sunflower seed butter works in the base, and you can top with seeds instead of chopped almonds.
Storage and Make-Ahead Magic
These are the perfect meal-prep dessert because they last in the fridge for up to five days, or you can freeze them for two weeks if you want to get ahead. I freeze mine individually in a container so I can grab one whenever I need a protein boost or a sweet moment, and they thaw in about fifteen minutes at room temperature. The base stays surprisingly crispy even after thawing, which is the small miracle that keeps me making these week after week.
- Make a double batch on Sunday and you'll have protein-packed snacks ready for the entire week.
- They travel well in a lunchbox as long as you keep them cool, making them perfect for work or road trips.
- If the filling ever cracks when you unmold them, just smooth a tiny dollop of extra yogurt over the crack and no one will know.
 Save
Save These little cups remind me that taking care of your body doesn't have to feel like a sacrifice, and that the best healthy habits are the ones you actually look forward to. Every time I reach for one, I feel a small sense of victory that tastes creamy, sweet, and genuinely satisfying.
Recipe FAQs
- → Can I make this dessert gluten-free?
Yes, substitute oat flour with almond flour and ensure all other ingredients are gluten-free to keep the base gluten-free.
- → What alternatives can I use for sweeteners?
Maple syrup or honey are both great options; adjust quantities to taste for preferred sweetness.
- → How can I make a vegan version?
Use dairy-free cream cheese, plant-based yogurt, and vegan protein powder to create a vegan-friendly version.
- → How long should the cups chill before serving?
Refrigerate for at least 2 hours to allow the filling to set firmly and flavors to meld well.
- → What toppings work best with these cups?
Fresh berries, chopped nuts, and dark chocolate shavings add texture and a complementary flavor profile.